Solar garden lights, with their advantages of being environmentally friendly, energy-saving, and requiring no wiring, have become a popular choice for decorating courtyards and illuminating landscapes. Ground-plug installation, due to its convenience, is the preferred method for most families. However, seemingly simple installation operations can directly affect the lighting effect and lifespan of the lights if the details are not handled properly. Below is a detailed breakdown of the complete process and key points of ground-plug installation of solar garden lights.Solar-Powered LED Strip Lights with Human Body Sensors
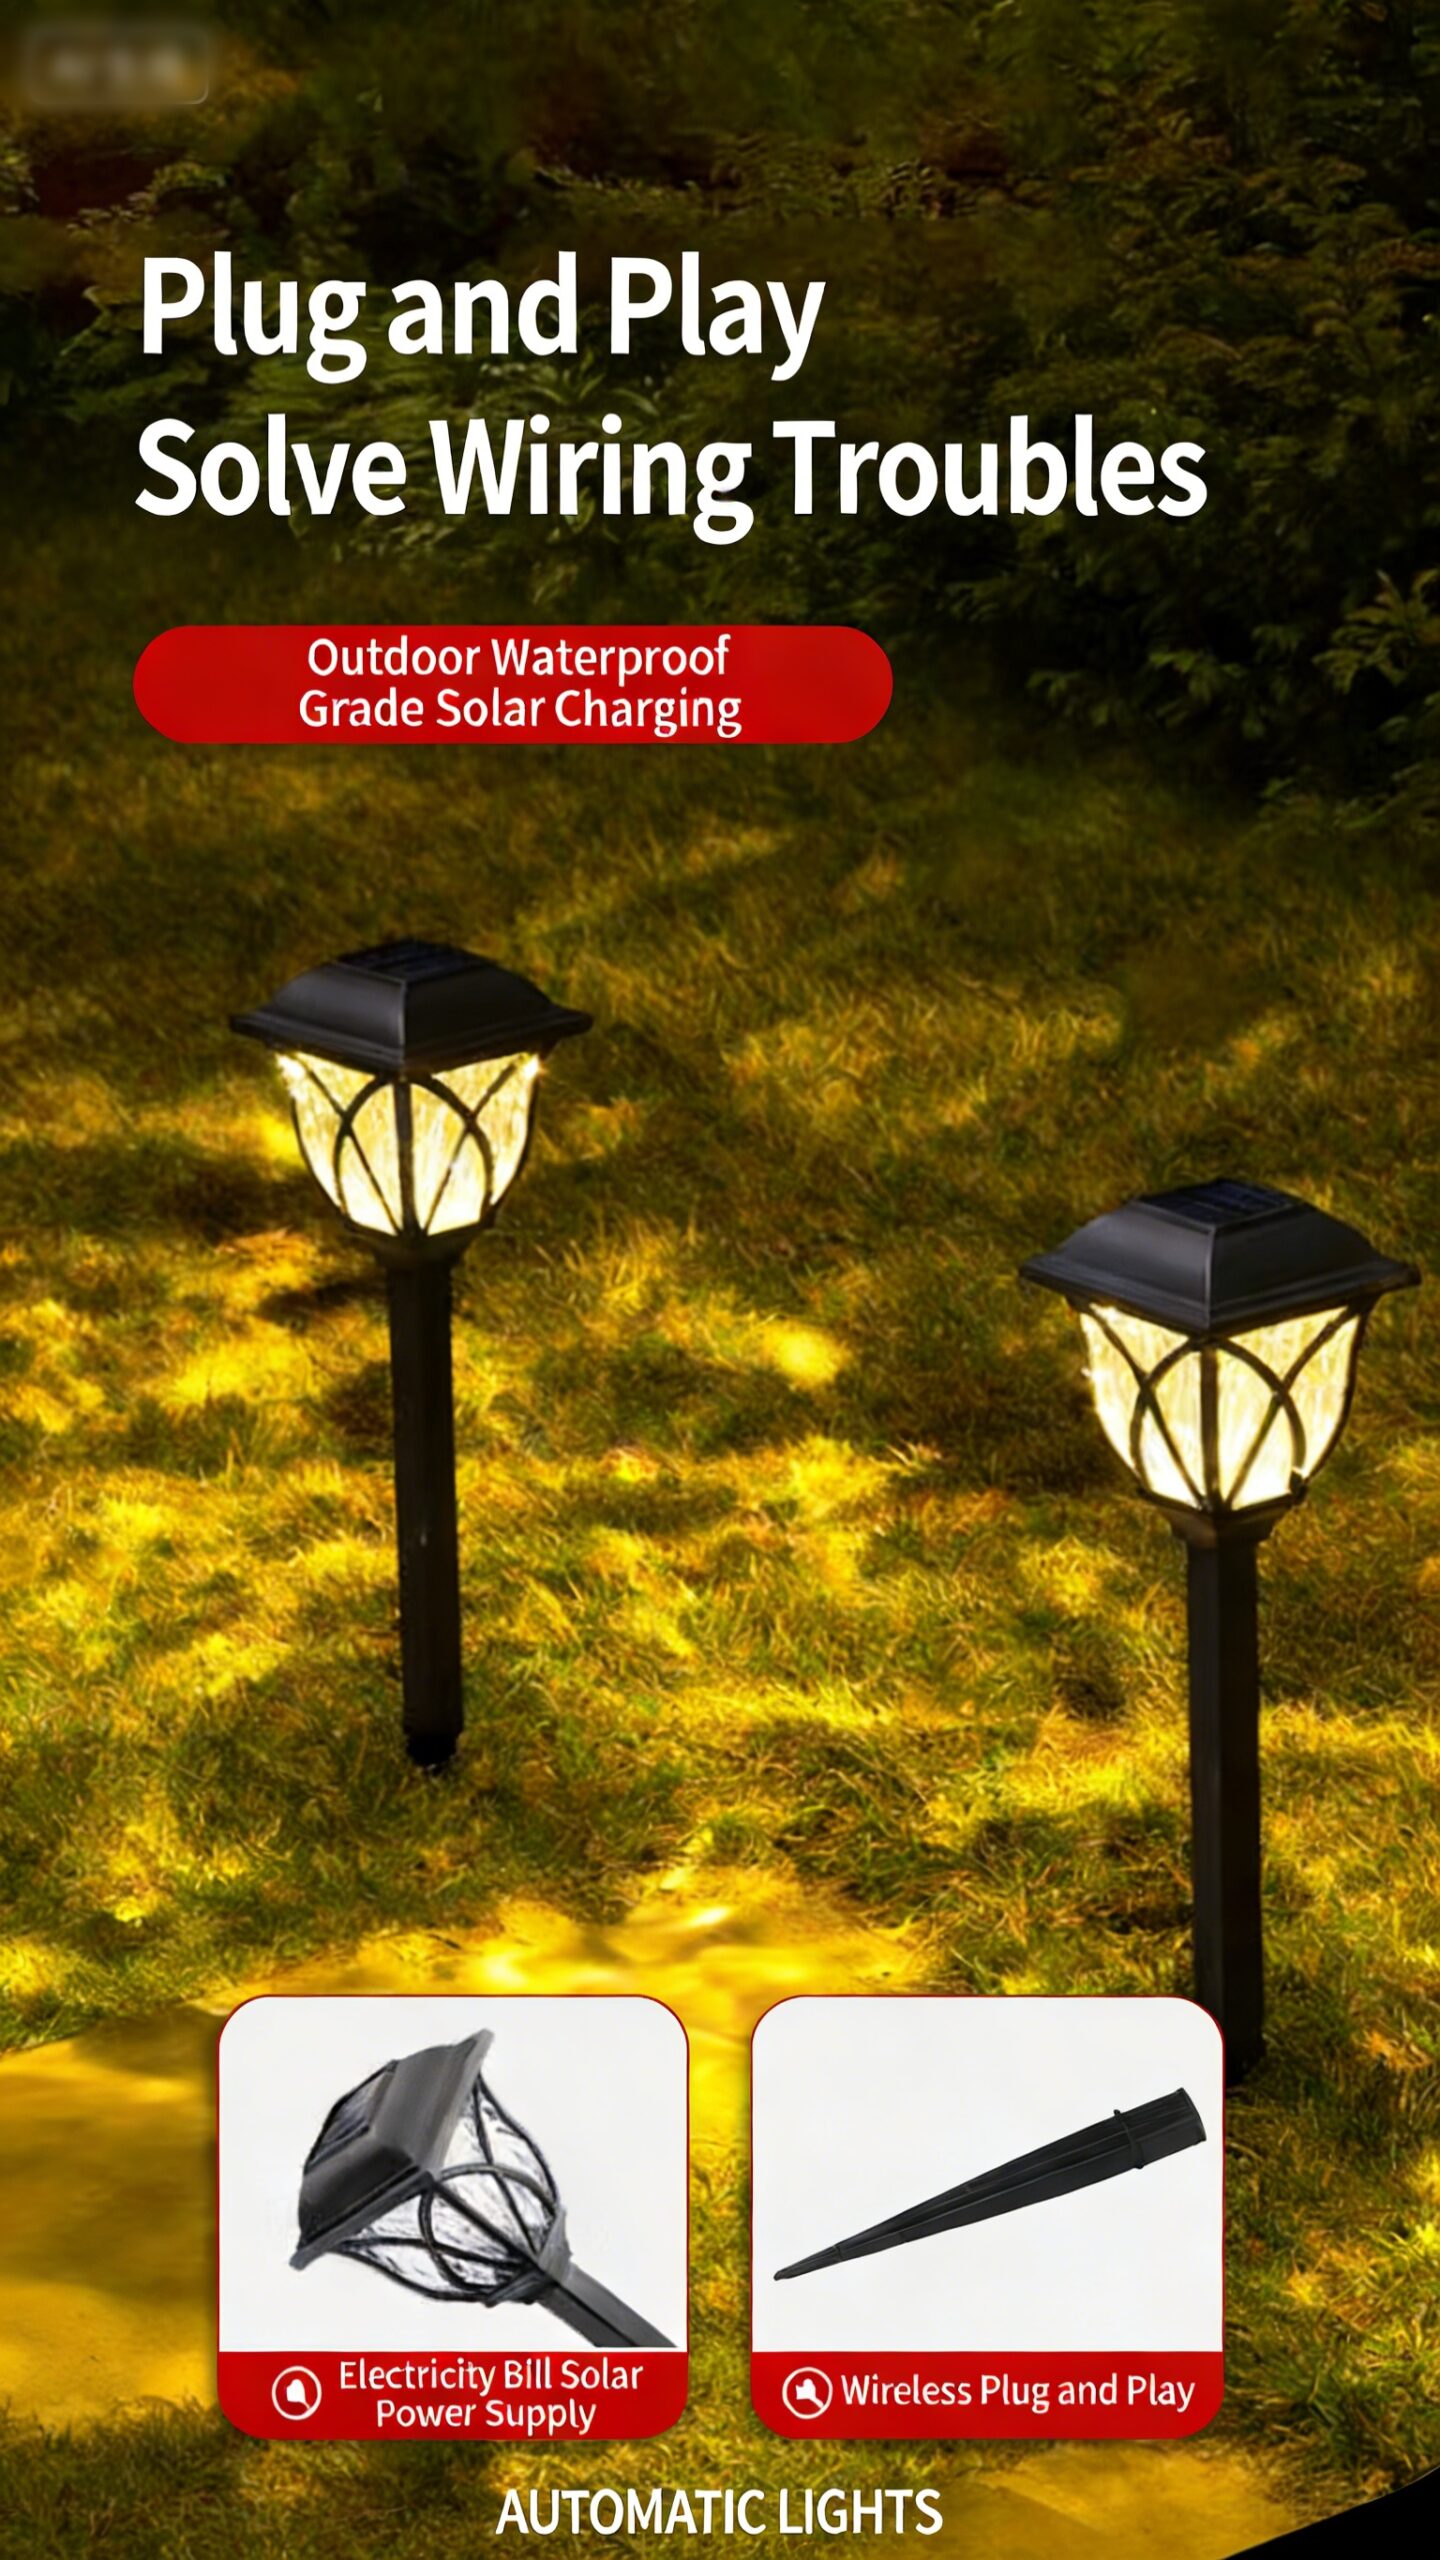
Preparation before installation is fundamental, and practicality and safety must be considered. First, accurate site selection is crucial. The sunlight conditions of the solar panel directly determine the charging efficiency, so the installation location should avoid the shadows of large trees and buildings, ensuring at least 6 hours of sufficient sunlight per day. It should also be kept away from high-power electrical appliances to avoid electromagnetic interference affecting signal reception. Second, tool preparation is essential. For conventional ground-plug installation, only a measuring tape and a small shovel are needed. If encountering hard soil, a thin steel pipe can be prepared to assist in drilling. Additionally, check beforehand that all light accessories are complete, including the light body, ground-plug, solar panel, and fixing screws, to avoid interruptions during installation.Solar Streetlight Solar Panel Power
The formal installation steps are simple and easy to understand, with the core being “stability” and “accuracy.” The first step is positioning and drilling. Based on the pre-planned lighting range, use a measuring tape to determine the installation points. If the soil is soft, you can directly insert the ground stake into the point, inserting it at least 1/3 of its length to ensure the light fixture is stable and doesn’t wobble. If the soil is hard, first drill a hole at the point with a thin steel pipe, remove the pipe, and then insert the ground stake to avoid bending or breaking the stake due to force. The second step is assembly and fixing. Securely connect the light fixture to the ground stake with screws. For some models, the solar panel and light fixture are separate; pay attention to the wiring to avoid pulling and damaging the lines. Adjust the solar panel to the optimal angle for receiving sunlight, usually 30-45 degrees to the ground, maximizing sunlight absorption. The third step is testing and checking. After assembly, turn on the light fixture’s power switch and place the solar panel in sunlight for 1-2 hours. Observe the light fixture in the evening to see if it lights up normally, and check if the light fixture is vertical and if the ground stake is tightly attached to the ground.Solar Streetlight Brightness Adjustment
Post-installation precautions are equally important. Within 24 hours of installation, avoid touching the light fixture to allow the solar panel to fully charge and ensure battery activation. Regularly clean the surface of the solar panel to remove dust and fallen leaves, preventing obstruction that could affect charging efficiency. Use a soft cloth to wipe the panel; never use corrosive cleaning agents. Furthermore, after severe weather such as heavy rain or strong winds, check the ground-mounted pole for looseness and the light fixture for water ingress. If loose, tighten it immediately; if water has entered, disconnect the power and allow it to dry completely before use.
For purchases, please add the following WhatsApp contact.
It’s worth noting that while ground-mounted installation is convenient, it requires flexible adjustment based on the garden’s layout. If the installation area is sloped, ensure the light fixture is perpendicular to the ground; adjust the insertion angle of the ground-mounted pole accordingly. For lawn lighting, it’s recommended to maintain an installation spacing of 3-5 meters to avoid blind spots. Proper installation not only allows the solar garden light to achieve optimal lighting effects but also extends its lifespan, adding depth to the garden’s nighttime scenery while fully leveraging its energy-saving advantages. By following these steps, even novice homeowners can easily complete the installation and create their own warm and inviting garden lighting atmosphere.