Solar garden lights are great; no wiring is needed, they automatically turn on at night, and they save money. However, if installed incorrectly, the lights may not turn on or may break after a few days, causing frustration and wasting effort. Today, we’ll discuss some key points about installing these lights, explained in simple terms that are easy to understand.Can solar-powered LED lights be installed on RVs?
First, choose the right location! The core principle is simple: the solar panel must receive sunlight, and for a sufficient amount of time. Don’t hide it under large trees, next to walls, or in places where sunlight is blocked by houses. Otherwise, the solar panel will be like a “stay-at-home” unit, unable to charge without sunlight, resulting in a weak light at night that only flickers briefly before going out.Are Solar LED Lights Fast to Charge?
In the Northern Hemisphere, try to place the solar panel facing south to maximize sunlight exposure. Also, ensure that leaves and branches don’t obstruct the panel’s surface, and don’t install it too low to prevent accidental bumping or damage from small animals. A height of approximately 1.2 to 1.5 meters is ideal, ensuring both safety and adequate lighting.
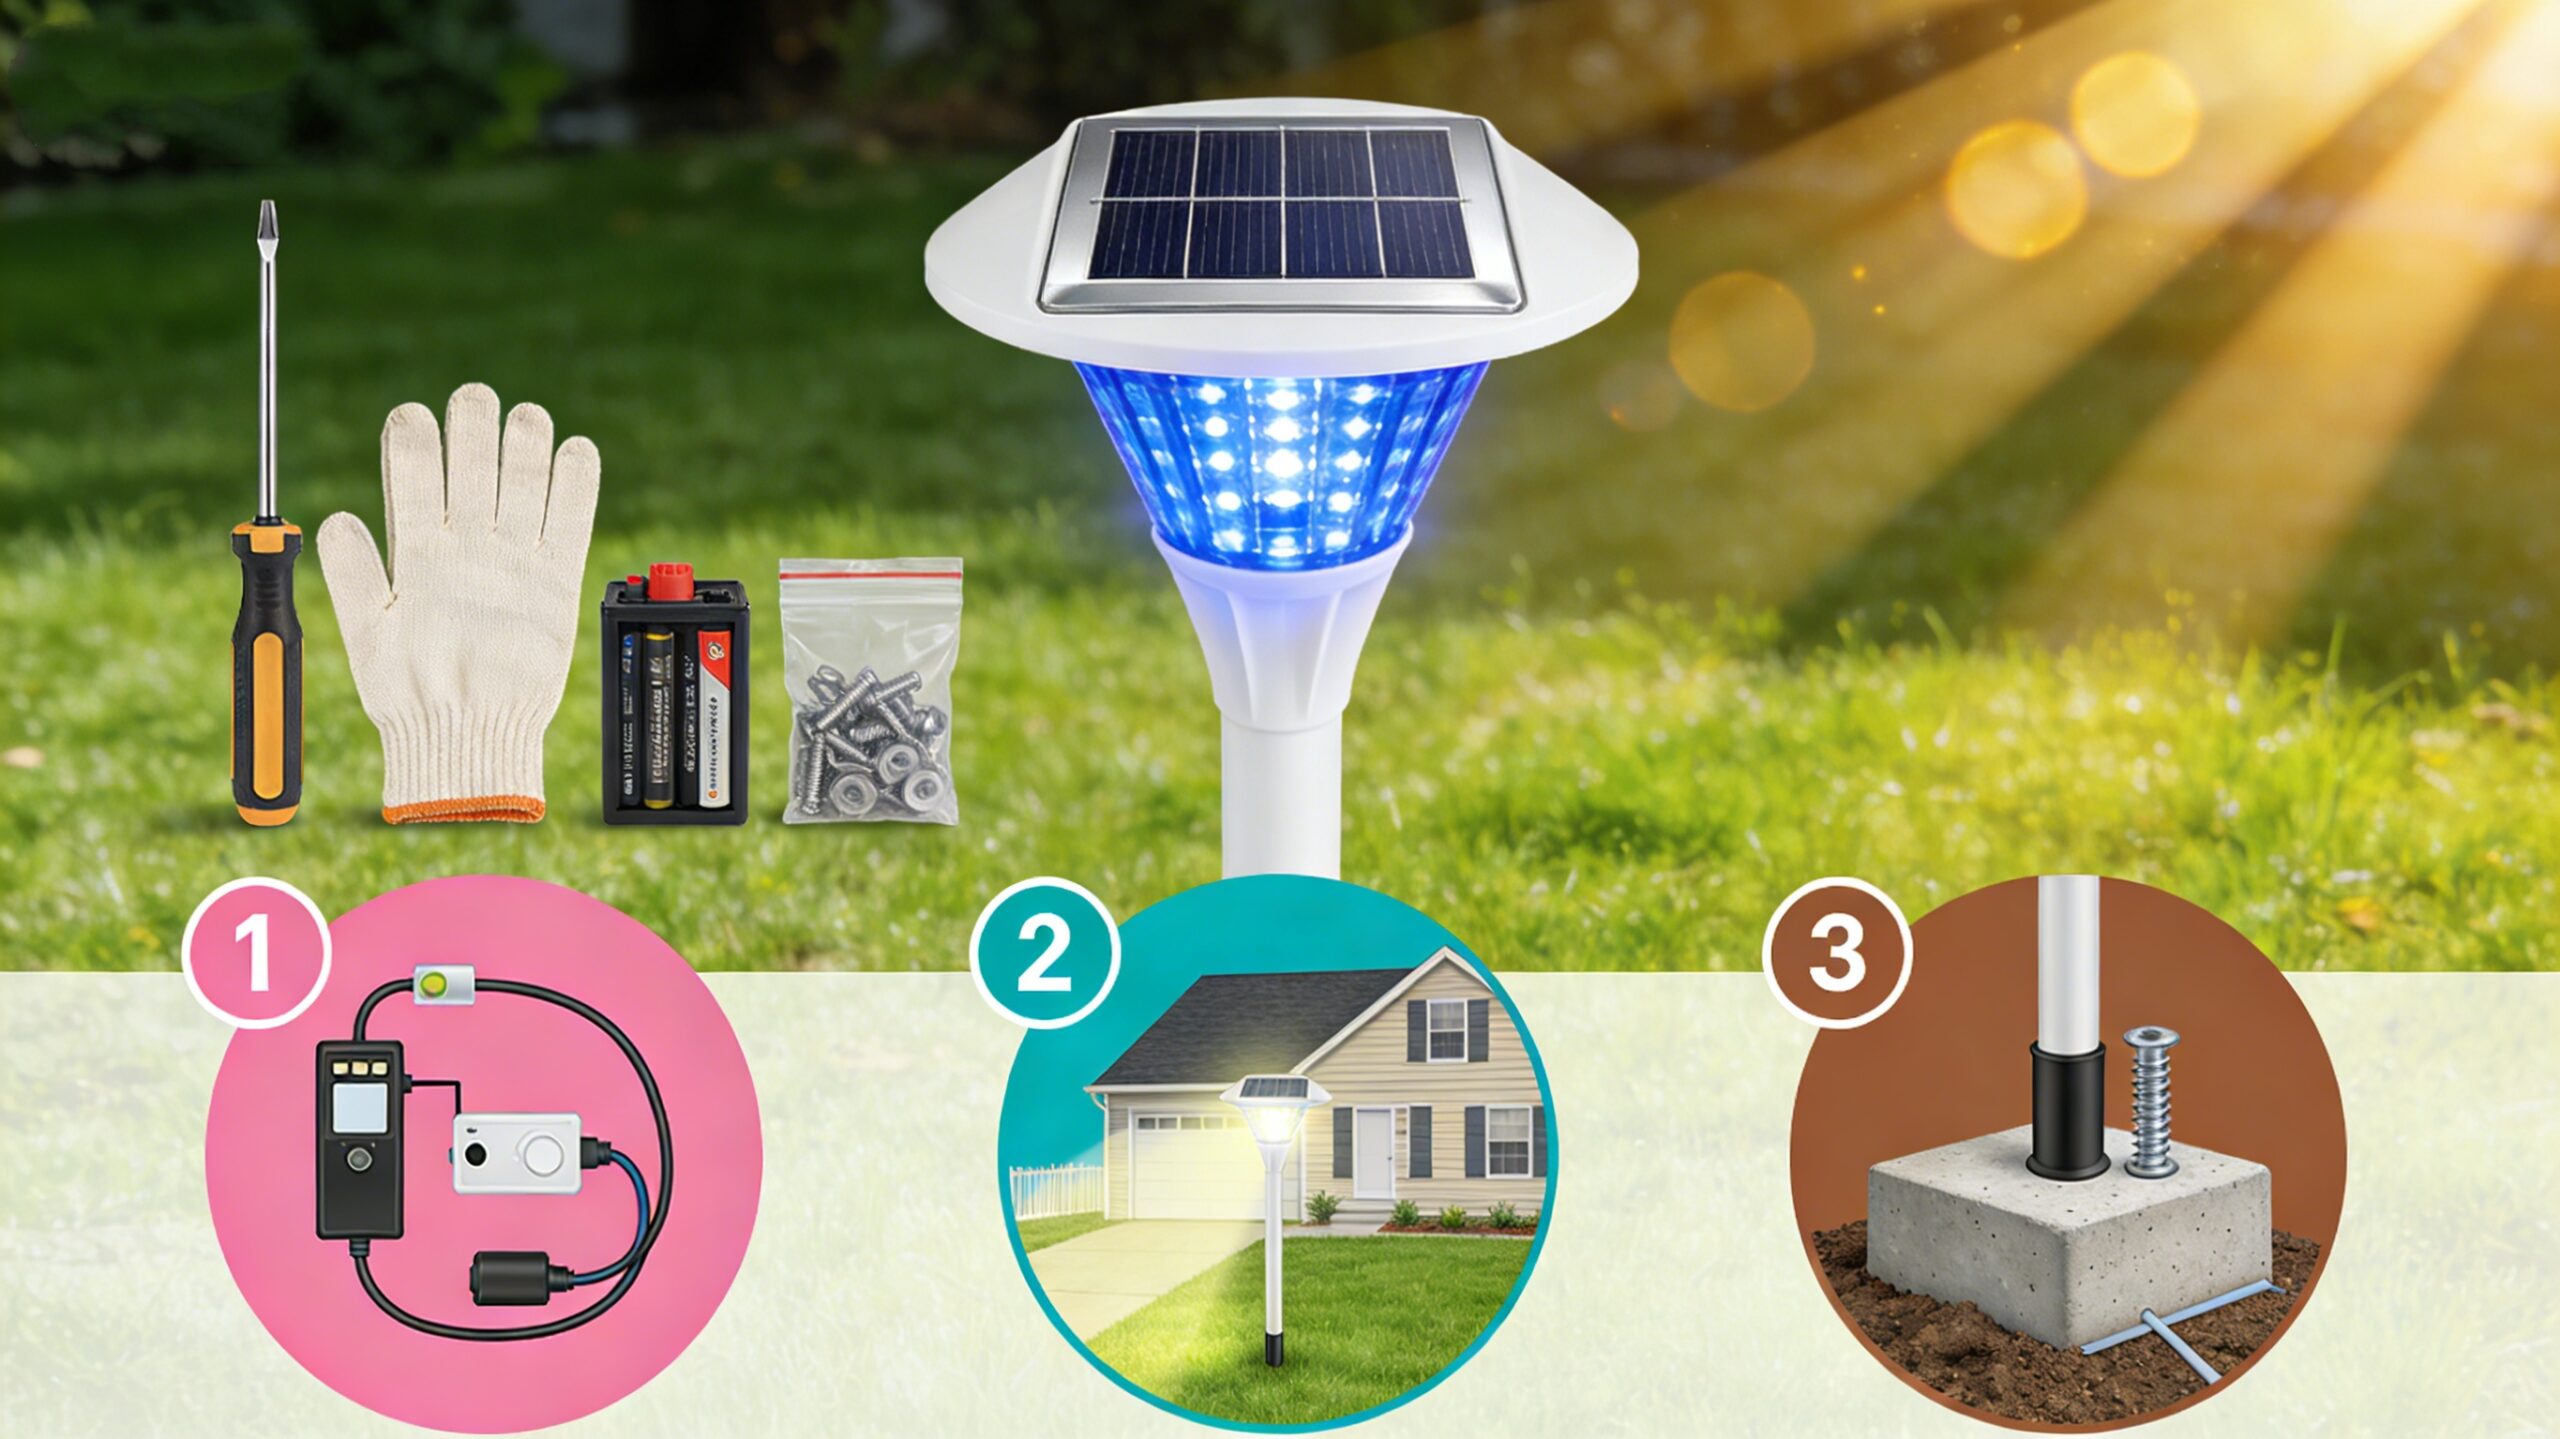
Second, before installation, check that all parts are present! Don’t rush into installation; first, empty the packaging box to check: lamp post, solar panel, light bulb, mounting screws, ground socket (if included), and instruction manual. Missing any part will prevent installation. Don’t wait until you’re halfway through to discover missing parts, forcing you to stop and search for replacements, which wastes time and effort.Are Solar Streetlights Suitable for School Playgrounds?
Don’t throw away the instruction manual either. Despite its brevity, it clearly explains each step. Don’t assume you’re an expert and haphazardly install parts, such as installing them backwards or tightening screws too much or too little. Loose screws can cause the light to tip over; overtight screws may damage the lamp post or other parts, resulting in more harm than good.
Third, ensure a secure fixation to prevent it from tipping over in the wind! Installed in a garden, it will inevitably experience wind and rain. If the light is plugged into the ground, the socket must be inserted deeply, at least 20 centimeters into the soil. If the ground is hard, dig a small hole first, bury the socket securely, and then fix the light pole.
If it’s mounted on a wall or pillar, make sure the screws are tightened securely. Don’t cut corners. Otherwise, the light will sway in the wind, and over time the screws will loosen, causing the light to fall and potentially injure someone or break – a very costly mistake.
Fourth step: Don’t be careless with the wiring (if any); waterproofing is crucial! Some solar garden lights are separate, with the light and solar panel connected separately, requiring wiring. When wiring, make sure the connectors are firmly inserted, leaving no gaps. Most importantly, ensure the connectors are waterproofed by wrapping them with the waterproof gaskets or tape provided by the seller.
Gardens are frequently watered and it rains. If water gets into the connectors, it will cause a short circuit, rendering the light unusable. Don’t be lazy; wrapping a few extra layers of tape will save you a lot of trouble later. Additionally, when wiring, be careful not to mix up the positive and negative terminals. The connectors usually have positive and negative markings; just connect them correctly. If connected backwards, the light won’t turn on.
Fifth step: Don’t leave immediately after installation; test it! After everything is installed, don’t rush to pack up and leave. First, peel off the protective film from the solar panel (many people forget this step; the panel won’t receive sunlight because of the film). Then wait until dark and see if the light works properly.
If you want to test it during the day, you can also cover the solar panel with something to simulate darkness. If the light turns on, it means you’ve installed it correctly. If it doesn’t turn on, first check if the connectors are plugged in tightly, if any parts are installed backwards, and if the solar panel is blocked. These are usually the small problems.
Finally, a word of caution: don’t neglect it. Occasionally wipe the dust or fallen leaves off the solar panel to prevent dirt from affecting sunlight. In winter, if there’s snow, shovel it away promptly, otherwise the panel will freeze and won’t charge. Installing solar garden lights is actually not difficult. Just remember these points, and they can last for several years. Your garden will be brightly lit at night, which is very comfortable!